
The main purpose of roofing is to protect your home from external elements. Metal roofing has become a priority for homeowners nowadays due to its numerous benefits. Metal roofing offers you a good package of durability and longevity and dominates over other roofing types.
But when it comes to the installation process, you need to have proper information and instructions about the steps to install the metal roofing on your house. If you start the installation process without understanding the appropriate installation method, you will get unexpected outcomes. The following article is a concise guide about the installation process of metal roofing as an answer to your question “How to install metal roofing?”.
Perform Preparation Before The Installation
It is really important to prepare before starting the installation so you can get a smooth installation process and the best outcomes. The preparation for the installation of metal roofing includes the following steps.
Investigate The Roof
You need to investigate your existing roof first before starting with the installation of new roofing. Approach your roof and look for any damage that can be seen. Check if the roof is rotted from any point and fix the damage to the roof before the installation of the new roof. Perform necessary measurements to avoid upcoming issues.
Measure Your Roof
You must measure your roof before starting the installation to get an estimate of the roofing material you need. Having proper calculations will help you get the appropriate size of metal pieces. The measurement begins with calculating the length, width, and height of one section of the roof. Now use this measurement to calculate the slope factor.
Now use the information you got and calculate the area of each section of the roof and then add them for a combined area of the roof. Now plan the layout and buy the required materials accordingly.
Collecting Needed Items
You need to gather all the required items, equipment, and materials before the installation. The proper installation is not possible without the availability of these items to the workers. You need to order the material required for the roofing. This material will include metal roofing panels, underlayment, flashing, trim, and fasteners.
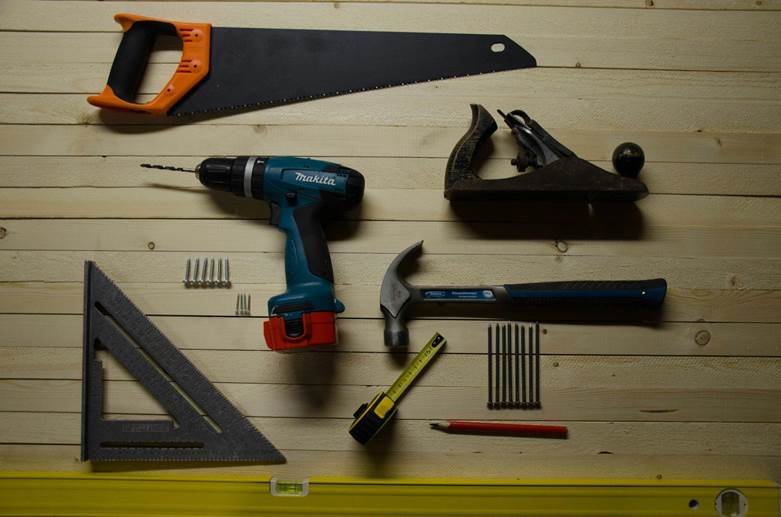
Now gather all the required tools and equipment for the installation process. This will include gathering a basic carpentry kit, metal cutters, a drill, tape measure, and other equipment. Your safety should be your priority while working on the roof. You also need to get yourself some safety equipment including safety gloves, safety glasses, non-slip footwear, and fall protection.
Prepare Your Worksite
The installation process can be very slow and difficult if you haven’t prepared your roof for the installation process. You need to make sure that there are no unnecessary obstacles at your working site that can interrupt the installation process. Ensure the constant availability of electricity because there will be the use of directly powered instruments.
Place a large bin to wipe out the waste material from your old roofing and a stable ladder for safe access to your roof. Make sure that you have placed the material that will be used during the process in a safe place and protected from the weather.
Start The Installation
Once you’re done with the preparation step for the installation, now it is time to start working on the roof of your house and install the new metal roofing.
Removing The Old Roofing
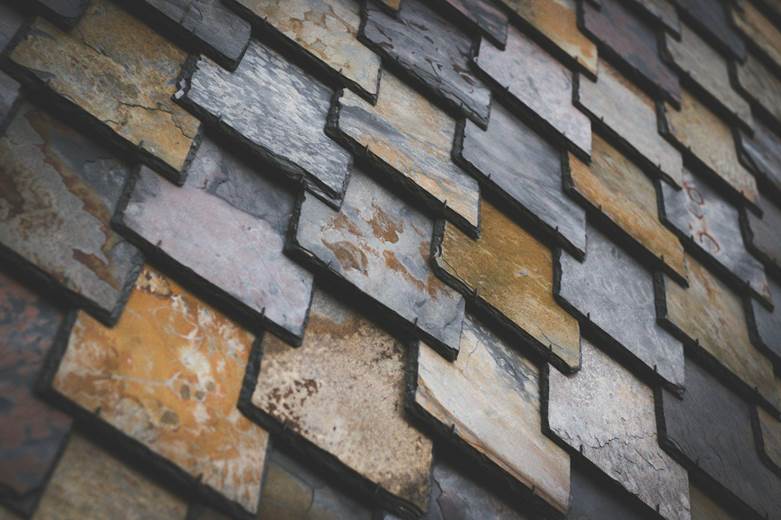
Before installing the new metal roofing, you need to deal with the current roofing of your house. At this point, you also have an option of keeping one layer of existing shingles and placing the new roof over them. But I personally recommend you wipe out all the current roofing and then install the new roofing so you have the best foundation.
You can start tearing off the old shingles from the highest point of the roof. Continue tearing off the old roofing and throw it into the trash container to avoid mess on your working site until you have cleared the whole roof to replace it with metal roofing. Stick out any large you notice on the roof so it doesn’t harm you or workers during the installation.
You’ll have direct access to the plywood of your roof after the removal of old roofing. You can inspect the plywood to notice any damage and repair it on the plywood and deck. Keep in mind to remove the roof on the days when the weather forecast is displaying sunny or clear days so you don’t have any moisture entering your home in case of rain or storm.
Underlayment Installation
After clearing the old roofing from your house, your step is installing the underlayment before the installation of metal roofing. This layer will help in maintaining the temperature of your home and prevent the passage of moisture into the house.
Now start rolling the bundle of underlayment from the bottom edge of your room along your roof’s length. Keep in mind to maintain a minimum of 6 inches of overlapping in each row. Once you have placed the underlayment, you can secure it to the plywood of your roof. Use roofing nails to tightly attach the underlayment to your roof so that there is no passage of water. You can also add an extra layer of membrane for enhanced protection in the situation of heavy storms.
Install Flashing And Trim
The second step is installing the flashing and trim before installing the metal panels. Look for the obstacles on your roof such as chimneys, vents, and pipes, and clear the area around them. Now you need to measure the surroundings of these obstacles and cut your flashing accordingly. Now put adhesive on the base of these obstacles and apply flashings in a way that covers the edges of roofing panels and seals the gaps between flashing and the roof.
Now you can put trims on the edges of your roof. Measure the edges of your roof and cut the trims accordingly so it is fitted tightly against the roofing panels. Use roofing screws or nails to attach the trims to the edges and seal the joints to avoid water leakage.
Cut The Metal Panels And Start The Installation
Now you need to measure the slope of your roof and cut the panels of metal roofing accordingly for a smooth installation. Keep in mind to precisely measure the roof, cut the metal panels, and estimate the overlapping of at least 3 inches at the edges to prevent the water from accessing the roofing material.
Now start installing the metal panels from the one corner of your roof. Align the panel to the edge of your roof and continue overlapping panels in a straight line. Keep in mind to lay down the panels in a way that the smaller edge of the panel covers the wider edge of the previous panel.
Keep On Installing The Metal Panels
Keep on installing the panels in the way you started placing them from the eaves until the whole roof is covered. Keep in mind to maintain a straight line while overlapping the panels on each other. You can use a chalk line or tie a straight string to keep the overlapping straight.
You may need to cut the panels to adjust them for some points of your roof. Keep on securing the panels with the roof using roofing screws. Avoid over-tightening the screws. You can add silicon or any other adhesive under the smaller edge of the panels to get enhanced waterproofing for your house.
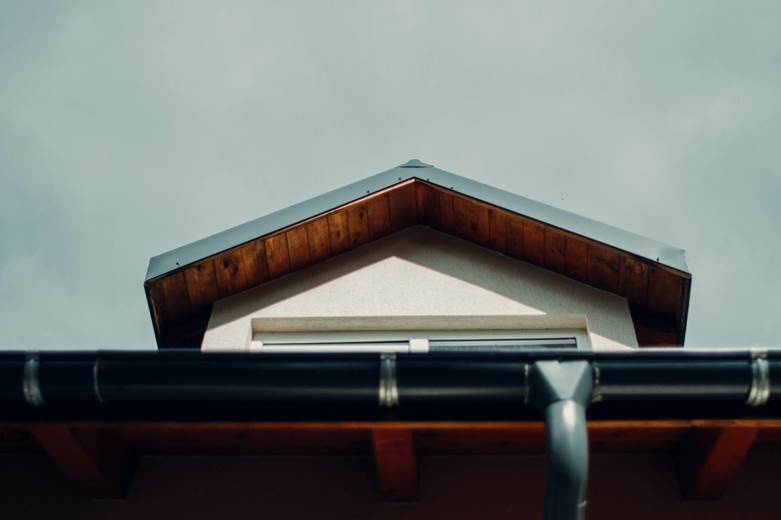
Install The Ridge Caps
Once you’re done installing the metal panel, it is time to give a final touch to your roof and install ridge caps with the ridge line. Measure the ridge line of your roof and cut the ridge caps in a way that they overlap each other an extended length of 2 inches longer than your ridgeline. Make sure that ridge caps will evenly overlap both sides of the roof and mark the panel where the ridge cap will end.
Now start placing the ridge caps from the one end of the ridgeline ensuring the overlapping of a minimum of 2 inches and secure the ridge caps using roofing screws and nails. Repeat the process on the other side of your roof. There might be possibilities of some gaps between the ridge caps. Apply the sealant tape along the ridgeline to prevent water from passing through the ridge caps.
Final Inspection
Once you’re done installing ridge caps on your roof, the installation of metal roofing is almost done. But you also need to take a final look at your roof to check if there are any adjustments needed. You may need to deal with numerous issues in the future if you skip this step.
Check your roof if there are any loose or missing screws or nails and any other imperfections. Tight the screws, and apply adhesives at any unnecessary gap you notice. Cut out the extra material and metal and clean up the working site.
Tips For Maintenance And Care Of Metal Roofing
Now once you have installed Metal Roofing on your house, you also need to do maintenance and take care of your roof to get maximum benefits. You can damage your metal roofing and shorten its lifespan if you don’t go through its regular maintenance.
Continuous Inspection Of The Roof
Follow the routine of inspecting the roof after some period of time. In this way, you can detect rising issues and fix them right away. Check if there are any dents, scratches, or loose panels. Fix these issues as soon as possible after noticing them to avoid a major impact on your roof’s health.
Proper Cleaning
You need to regularly clean dirt and debris from your roof for a better appearance and lifetime of your roof. Remove if you notice any leaves and branches on your roof so there is no possibility of their regrowth which can be the reason for water passage through the roof. You can use a long broom or a low-powered pressure washer to clean the roof.
Applying Protection Coating
Consider applying an appropriate sealant or adhesive coating on your roof to enhance the durability, water resistance, and appearance of your roofing. This will fill up the unnecessary gaps that prevent the leakage of water through your roof.
Frequently Asked Questions (FAQs)
1- Can I install metal roofing over existing shingles?
Yes, it is possible for you to install metal roofing over existing shingles but it can cause problems with weight and ventilation. It is recommended that you remove the existing shingles so you can check the plywood and deck and install the new roofing properly. You can consult a roofing expert for more personalized advice according to your environment.
2- What underlayment type should I pair up with my metal roofing?
It is very important that you have high-quality underlayment that is specially designed for metal roofing. There are two types of underlayment that are commonly used for metal roofing. These types are Synthetic underlayment and self-adhering underlayment. This underlayment provides enhanced protection and waterproofing for metal roofing.
3- How can I make proper ventilation with metal roofing?
Proper ventilation is very important for proper temperature control of the house. You need to make sure that vents are installed at the edges of your roof for proper passage of air. You can also consider employing ridge vents if needed.
Conclusion
You need to have careful planning, accurate measurements, information about materials and usage of tools for the proper installation of your metal roofing. By following this step-by-step guide, you can install your metal roofing properly and take advantage of its enhanced durability.
It is recommended to hire a roofing expert if you don’t have experience in craft DIY projects. Click the link LZ Roofing & Siding Remodeling LLC for detailed insights about professionals and installation to get the best results from your metal roofing.